This is Part 3 of our series on how to skin, flesh, and tan a snakeskin using the Advanced Tanning Solutions Tan-a-Snake Kit. We are demonstrating on a rattlesnake, but the process is the same for any species of snake. You should have already completed Part 1: Skinning, which can be found here and Part 2: Fleshing, which can be found here.

The Tan-a-Snake Kit includes everything you need to tan a 12-foot snake or several smaller snakes. It’s a perfect kit for beginners or experienced home tanners and DIY taxidermists. You’ll get a professional-quality result with a simple, all-in-one experience.
This unique, easy-to-use, snake tan system will produce a true tanned leather. Unlike conventional glycerine methods which require more time and do not actually tan the skin, Tan-a-Snake will leave the snakeskin clean, bright, soft and stretchy. It will dry flat, so no pinning or stapling is necessary!
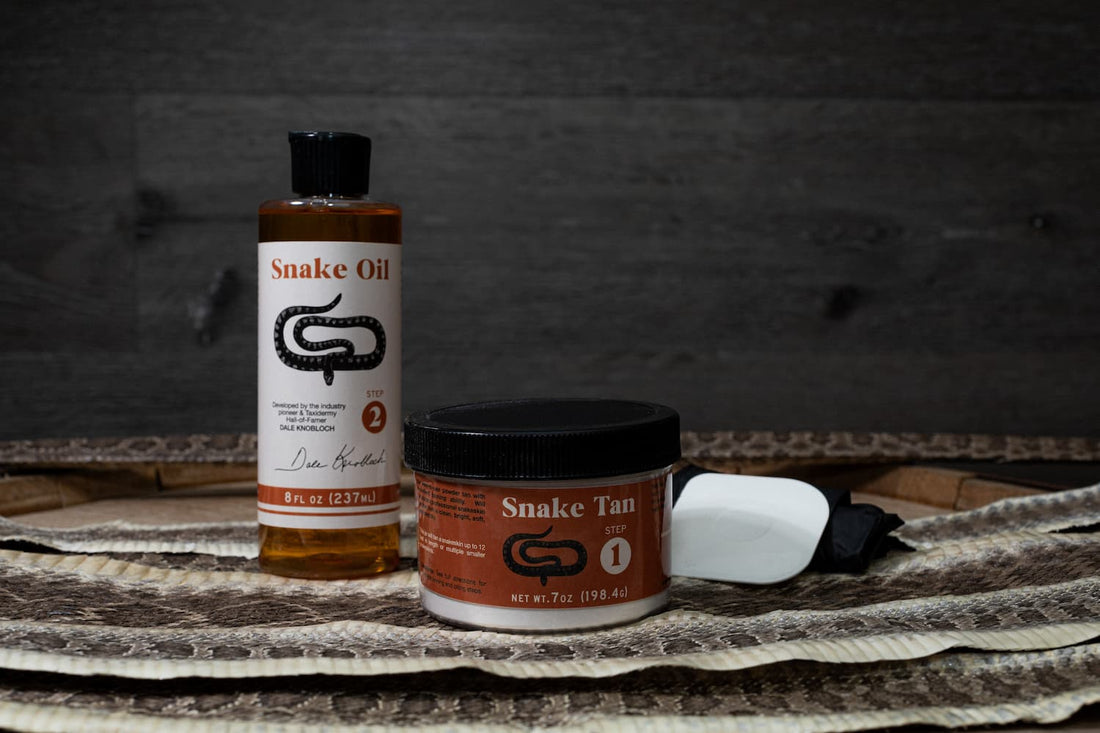
The kit includes:
- Snake Tan
- Snake Oil
- Snakeskin Fleshing Tool
- Non-latex rubber gloves.
You will need a sharp knife (we recommend something like Havel’s #4 handle with #23 blades), and a snake.
Step 3: Salt Bath & Rehydration
After skinning and fleshing your snakeskin, you’re ready to move on to the salt bath. The salt bath process draws out oils and non-tannable proteins to increase the efficiency of the tan.
The recipe for a salt bath is one heaping tablespoon of salt per 16oz of hot water. The best way to mix the salt bath, is to add the salt to the hot water, mix it so that the salt dissolves, and then let the water cool to room temperature. Make sure you mix up enough salt bath that the snakeskin can bob around and float freely in the bath.

Do not add snakeskins to hot water! If you do, you will damage the skins.
When you add the skin to the salt bath, open the skin up, so that the salt can work from the inside of the skin to the outside. Let the skin soak in the salt bath for 2-3 hours.

After a couple of hours, you can remove the snakeskin from the salt bath, discard the salt water, and rinse the skin off in fresh room temperature water.
Step 4: Tanning
Now that your snakeskin has been rinsed, it’s ready for the tanning bath. The amount of Snake Tan you’ll use depends on the size of the snake being treated. (In our example, Rick is tanning two 3’ snakes, so we used 6 tablespoons of Snake Tan.) Use enough water to allow the snakeskin to just float freely in the tan bath.

When you mix your tan, add hot water to dissolve it, then allow it to cool to room temperature before adding your snakeskin. Remember — never add a snakeskin to hot water!
Just like you did with the salt bath, keep your snakeskin open when you add it to the tanning bath. Try to push out any air bubbles so the skin doesn’t float. Make sure the skin is completely open to accept the tan.

Soak the snakeskin in the Snake Tan bath for 14-16 hours (longer for larger skins), moving and mixing the skin around in the bath every 4 or 5 hours.
Step 5: Oiling
Now your skin is ready to come out of the tan. Using gloves, remove the skin from the bath and drain. Do not rinse your snakeskin at this time. You’ll notice the skin is nice and stretchy, and the scales have become plump.

Once you remove the skin from the tan, just gently dab both sides dry with a paper towel. You don’t want it to be too dry or too wet. It should be moist or the oil won’t penetrate.

Next, lay the skin flat on plastic, with the scale side up. As you’re flattening the skin out, give it a very light, gentle stretch to open up the pores.
Then, lightly drizzle a few drops of Snake Oil down the center of the scale side of the snakeskin.

After that, use your fingers to apply the oil in the direction of the grain of the scales. The purpose of Snake Oil is to keep the skin soft. Feel free to add more if you think you need it, but it won’t require much. Let the oil soak into the scale side for approx. 1-2 hours before flipping the skin over to oil the flesh side.
When oiling the flesh side of the snakeskin, it’s very important to get more oil along the belly scales because that area is thicker. So take extra care to do this the proper way and you’ll ensure your skin comes out with a professional finish.
Apply a medium coat of oil to the flesh side — more oil than you used on the scale side. It’s extremely important that you get oil on the edges.

Let the Snake Oil soak into the flesh side for 2-3 hours.
Next, remove your snakeskin from the plastic and dry it, flesh side down on cardboard or a flat table surface. The idea now is to straighten the skin and flatten out all the belly scales so they don’t curl as the skin dries. Whatever shape the skin dries at this point, is how it will be, so keep it as straight and as flat as you can. Depending on the size of your skin, the total drying time will be 1-3 days.
 The great thing about the Tan-a-Snake Kit, is that there’s no pinning or stapling necessary, which is required with other systems, like the glycerin method. The other difference is that this kit actually tans the snakeskin — it turns it into soft, supple leather. Whereas the glycerin and alcohol methods are preserving the skin instead. So snakeskin tends to be ‘crispy’ with other methods.
Congratulations! You’ve successfully skinned, fleshed, and tanned a snake using the Advanced Tanning Solutions Tan-a-Snake Kit! However, you can remove the scales and apply a finish to your flat skin still if you like. If you’re interested in learning how to do either of these optional finishes, Rick shows you how, step-by-step, on our YouTube channel!