This article will go through the process, step-by-step, of the best way to tan a snakeskin using the Advanced Tanning Solutions Tan-a-Snake Kit. We are demonstrating on a rattlesnake, but the process is the same for any species of snake.

The Tan-a-Snake Kit includes everything you need to tan a 12-foot snake or several smaller snakes. It’s a perfect kit for beginners or experienced home tanners and DIY taxidermists. You’ll get a professional-quality result with a simple, all-in-one experience.
This unique, easy-to-use, snake tan system will produce a true tanned leather. Unlike conventional glycerine methods which require more time and do not actually tan the skin, Tan-a-Snake will leave the snakeskin clean, bright, soft and stretchy. It will dry flat, so no pinning or stapling is necessary!
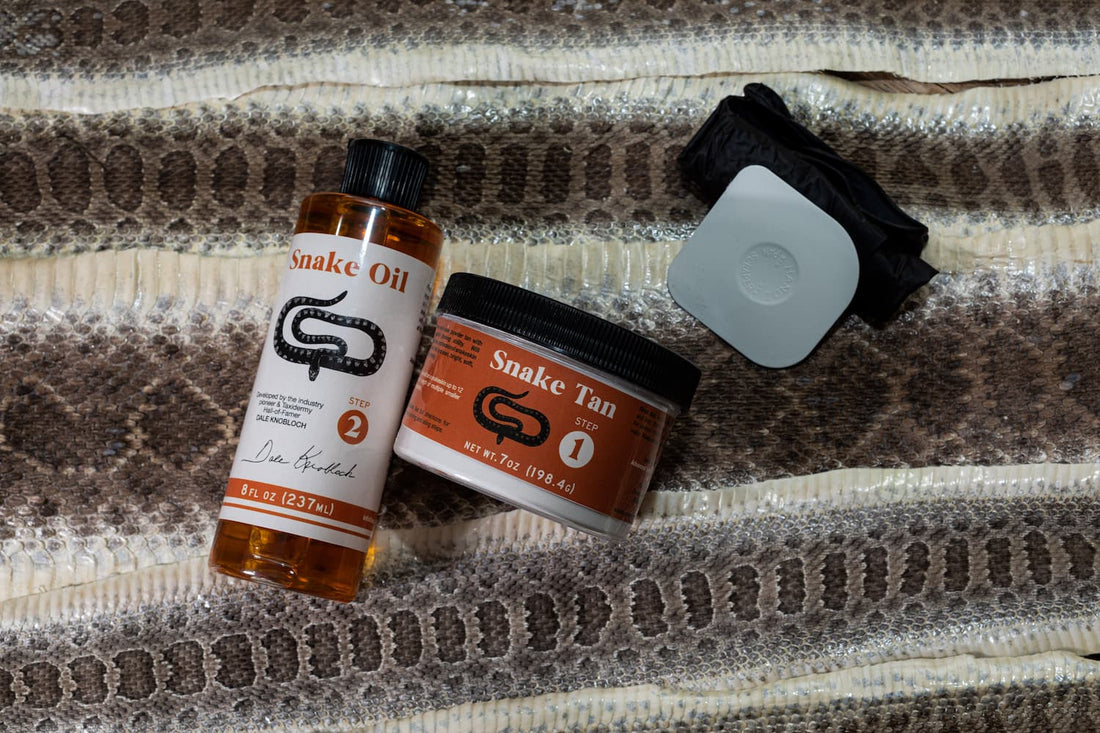
The kit includes:
- Snake Tan
- Snake Oil
- Snakeskin Fleshing Tool
- Non-latex rubber gloves.
You will need a sharp knife (we recommend something like Havel’s #4 handle with #23 blades), salt and a snake.
Step 1: How to Skin a Snakeskin for Flat Tanning
The first step is to stretch out your snake. You’ll probably hear some popping when you do this. The reason for stretching out the snake is to get rid of any rigor mortis. When that’s done, lay your snake on a table, belly side up.
Using a sharp knife, make a straight incision from the snake’s vent to the base of the rattle. Place your blade as close to the center of the belly as you possibly can. Cut slowly and smoothly.

Next, make a small, two- to three-inch incision from the vent up the belly in the other direction. Again, make sure to cut slowly and stay as close to the center as you can.
Note: If your snake’s head has already been removed, you can skip ahead to the section on making the belly incision.
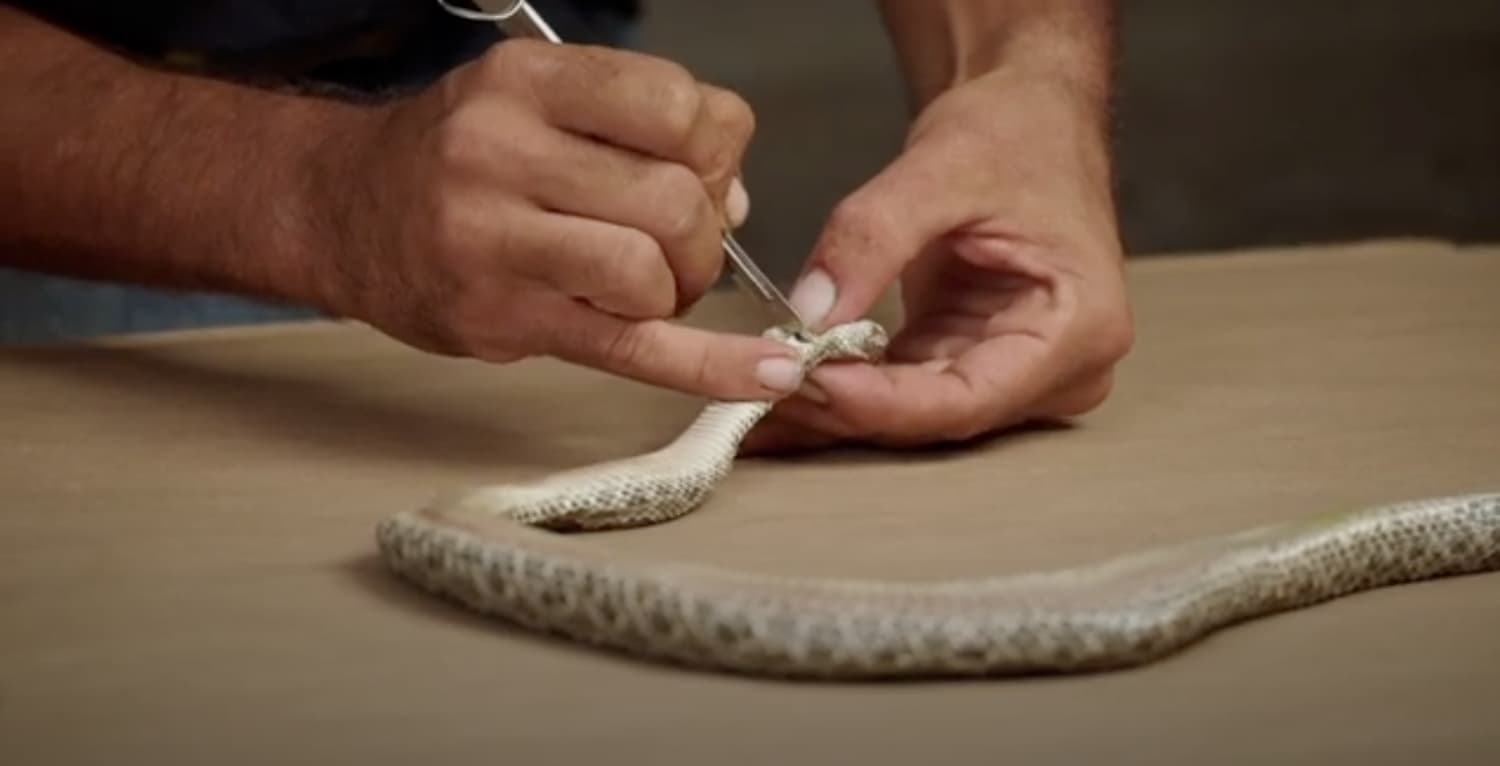
Next, you’ll make an incision at the base of the snake’s throat latch. Lift the throat latch scale that’s lined up with the back of the head and make your incision through that throat latch line.

From here, proceed to make an incision down the belly of the snake starting where you cut the throat. Remember, try to stay as centered as possible, cutting slowly and carefully - this will ensure the belly scales are even on both sides of the snakeskin.

Keep cutting all the way until you meet the incision you made earlier near the snake’s vent.

Next, cut the rest of the skin all the way around the base of the snake’s head.

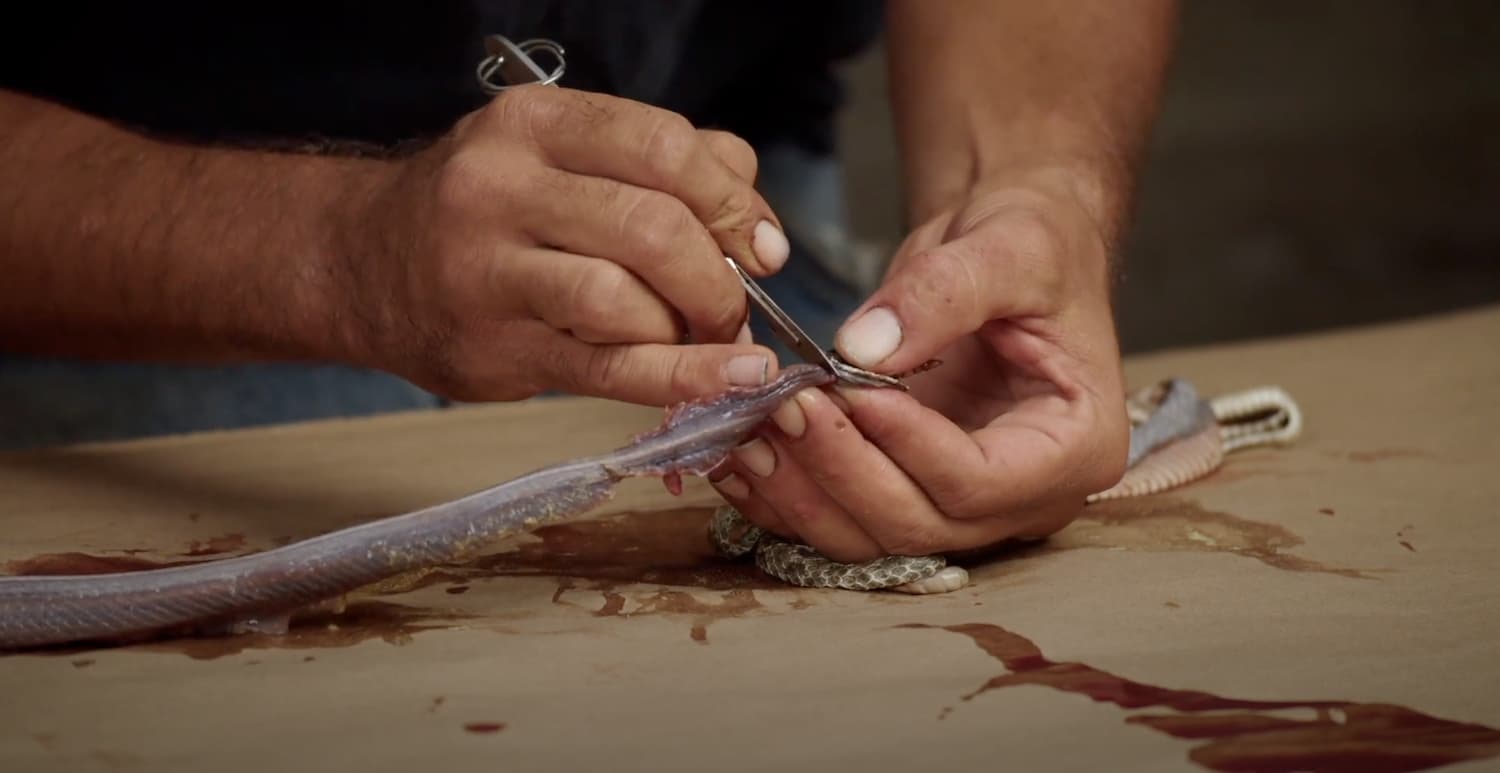
When that’s done, you can begin to very gently start peeling the skin back. Peel a little bit back until you get a small section that you can get your thumb on to grip.

After you have enough skin peeled back that you can grip it firmly, you can easily peel the skin off like a banana. Get a firm grip on the neck of the snake with one hand while firmly gripping the skin in the other hand. Then, slowly and smoothly, pull the skin away from the snake’s body in a controlled motion. It will come off easily leaving the meat.

When you’ve made it about halfway down, you can reposition your hands and continue. And reposition your hands further down the snake as needed.

You’ll feel the skin stop peeling off easily at the vent. At that point, you’ll need to use your knife to carefully cut the muscle and tendons away from the vent area.

Don’t be alarmed when you smell a strong, musky odor while you’re doing this. You’ll be cutting through the musk glands on both sides.
Continue peeling the skin down, slowly, until you get to the base of the snake’s rattle. We’re going to keep the rattle attached, but this is optional — you can cut it off if you prefer. Snakeskin can be tanned with or without the rattle on.
When you get to the rattle, you’ll need to cut through the shaker muscles to detach it from the rest of the snake. Do not cut through the bone.

After you’ve cut the muscle on both sides, simply twist the bone and the rattle will break free still attached to the snakeskin.
What to do with the snake meat after it’s been skinned
Some people like to eat rattlesnakes — the meat is great for grilling! If you plan to eat yours, remove the intestines by peeling back the sack starting at the head. The guts will easily come out in one piece. When you reach the end, cut through the muscle and then twist, just like you did with the rattle. Then, remove the head using your knife and pressing down firmly until you hear a snap.
Please Note: It’s important to properly dispose of the head, as even dead venomous snakes still have venom in their fangs.
Now you’re ready to move on to How to Tan a Rattlesnake Part 2: Fleshing. In the next article, you’ll learn the important process of removing any flesh left on the snakeskin to prepare it for tanning.

