This is Part 2 of our series on how to skin, flesh, and tan a snakeskin using the Advanced Tanning Solutions Tan-a-Snake Kit. We are demonstrating on a rattlesnake, but the process is the same for any species of snake. You should have already completed Part 1: Skinning, which can be found here.

The Tan-a-Snake system includes everything you need to tan a 12-foot snake or several smaller snakes. It’s a perfect kit for beginners or experienced home tanners and DIY taxidermists. You’ll get a professional-quality result with a simple, all-in-one experience.
This unique, easy-to-use, snake tan system will produce a true tanned leather. Unlike conventional glycerin methods which require more time and do not actually tan the skin, Tan-a-Snake will leave the snakeskin clean, bright, soft and stretchy. It will dry flat, so no pinning or stapling is necessary!
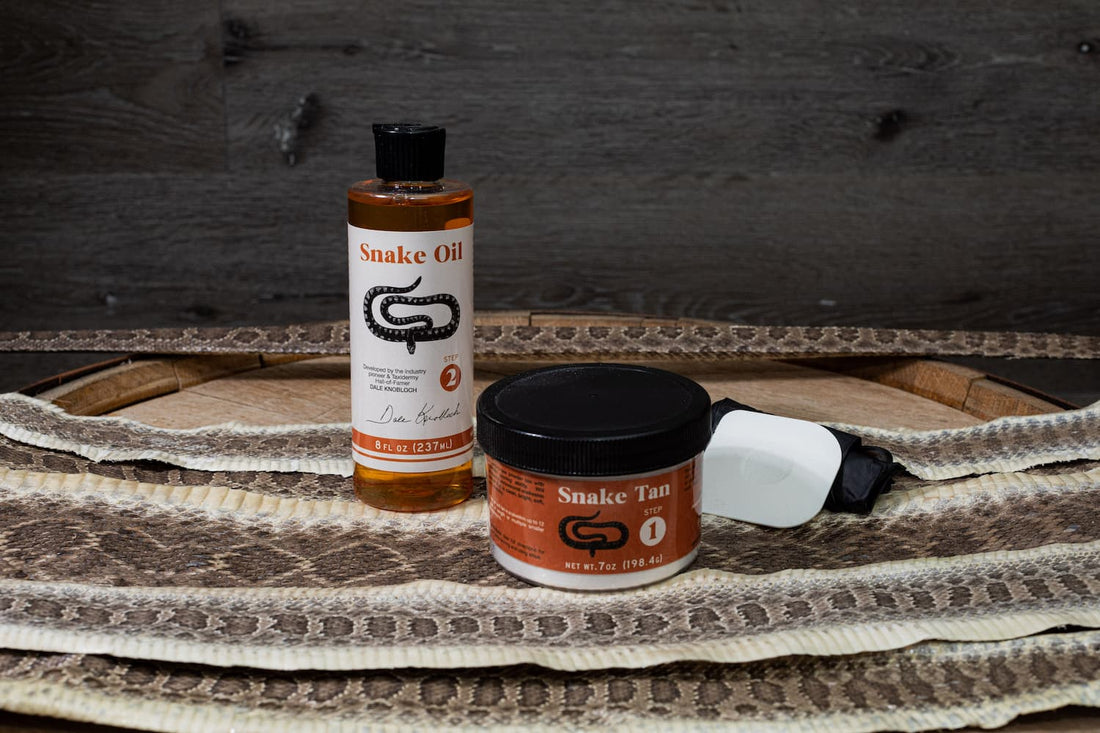
The kit includes:
- Snake Tan
- Snake Oil
- Snakeskin Fleshing Tool
- Non-latex rubber gloves
You will need a sharp knife (we recommend something like Havel’s #4 handle with #23 blades), salt and a snake.
Step 2: Fleshing a Snakeskin for Tanning
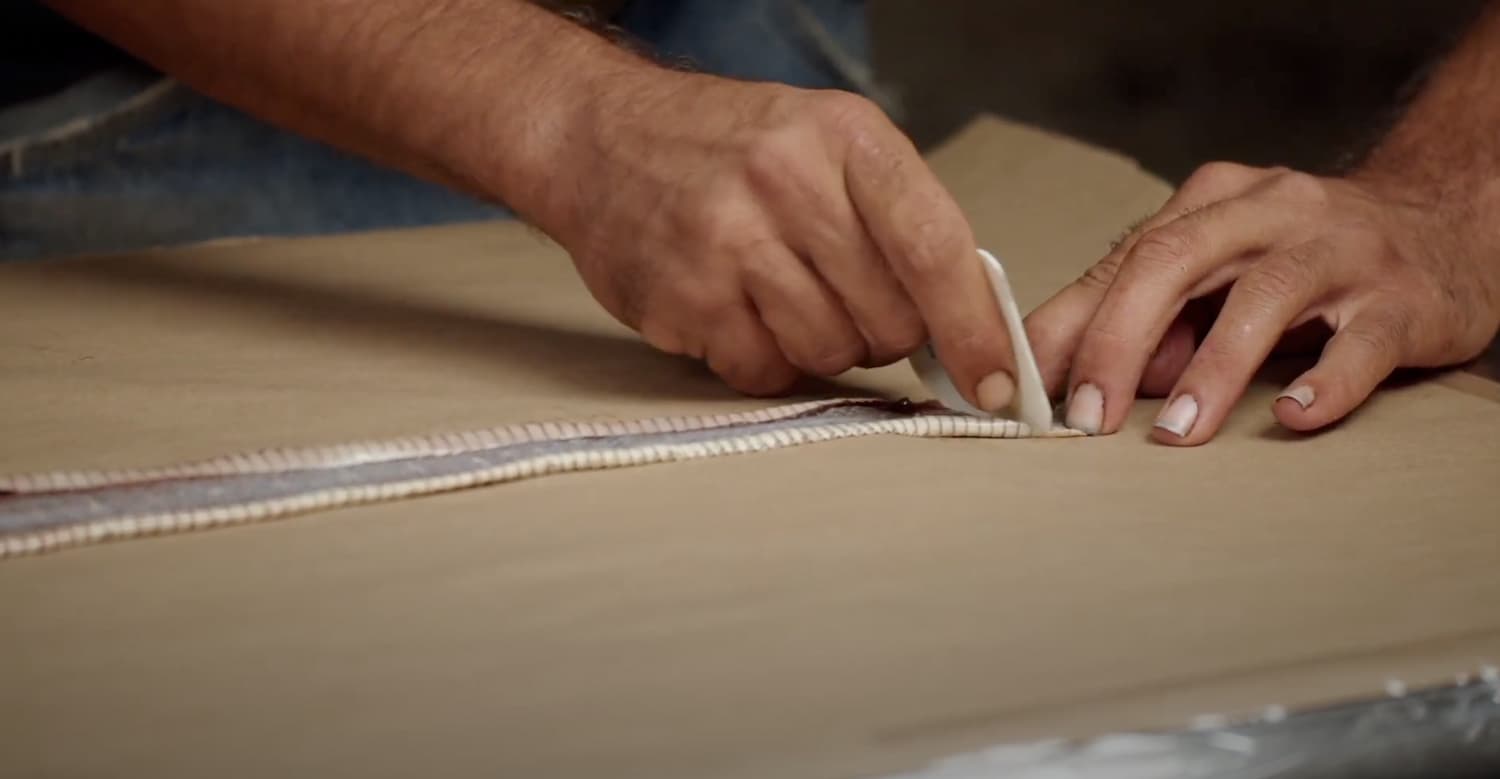
Snakes in general, do not require a lot of fleshing, but try to remove what may remain. Start by laying your snakeskin flat on the table, scale side down. You’ll notice that the belly scales will want to fold in — this is normal. Just carefully unroll and flatten the snakeskin and the belly scales will flatten out during the fleshing process.

Next, use the scraper that’s included in the Tan-a-Snake Kit, and using the flat side with one large rounded corner and a smaller rounded corner, pull the belly scales out of the way and gently scrape any remaining flesh or membrane. Be sure to work with the grain of the scales.


Make short strokes with a 45-degree angle to your scraping tool and gently work from head to tail scraping the flesh.
It’s important to be patient while you’re fleshing. There’s no rush. Go slow, so you don’t tear your snakeskin.

Another method of fleshing you can try is called “halving.” With this method, you scrape half the snakeskin and then go back and flesh the other half.
It’s important to remove all the flesh. A well-fleshed skin will help the tan to penetrate better, resulting in a softer, more supple skin and a professional-looking result.
If you get to an especially troublesome bit of flesh, don’t be afraid to pick at it with your fingers to help the process along.
When you get to the vent area, near the tail, turn your scraper to the smaller rounded corner. That will make it easier to get into these tighter areas. Be especially careful not to break or crush the rattle if you’re working on a rattlesnake and it is still attached.

Now, continuing to always work with the grain of the scales — never against the grain — go back over the snakeskin with the small corner of your scraper tool and pick out any remaining flesh.
Next, using your blade, cut off the flesh that remains around the vent area. To do that, you will slice and push the meat in the tail area with your knife blade. At the same time, pop the first scale near the vent off on each side.

At this time, go over the skin with the fleshing tool one more time. Remember, don’t flesh against the grain of the scales.
Remember how your skin was curled in before fleshing? A well-fleshed snakeskin should now lay flat. It may still curl around the vent and rattle area, but should be mostly flat at this time.
You’ve completed fleshing your snakeskin and are ready to move on to Part 3 of our series, Salt Bath, Rehydration, & Tanning.

