
Flat skin tanning a snake begins with proper skinning. Whether you're preparing a western diamondback or another species, the process is the same.
This guide uses the Tan-a-Snake kit by Advanced Tanning Solutions, which provides everything you need to produce a professionally tanned leather skin from any snake. Unlike glycerin-based preservation methods, this is a true tan—durable, flexible, and long-lasting.

The Tan-a-Snake Kit includes:
-
Snakeskin Fleshing Tools
-
Non-latex gloves
What you’ll need in addition:
-
A sharp knife (a Havel’s #4 handle with #23 blades is ideal)
-
Salt
-
Your snake (fresh or properly thawed)
Step 1: Skinning for Flat Tanning
Lay the snake belly-up on a clean surface and gently stretch it out. This helps relax any stiffness caused by rigor mortis. You'll likely hear some popping sounds—this is normal.
Begin by making a straight cut from the vent (the cloaca) down toward the base of the rattle. Keep your blade centered and use smooth, even pressure. Then, make a short second incision in the opposite direction, just above the vent.

If the snake still has its head, make a small cut through the throat latch (beneath the head).
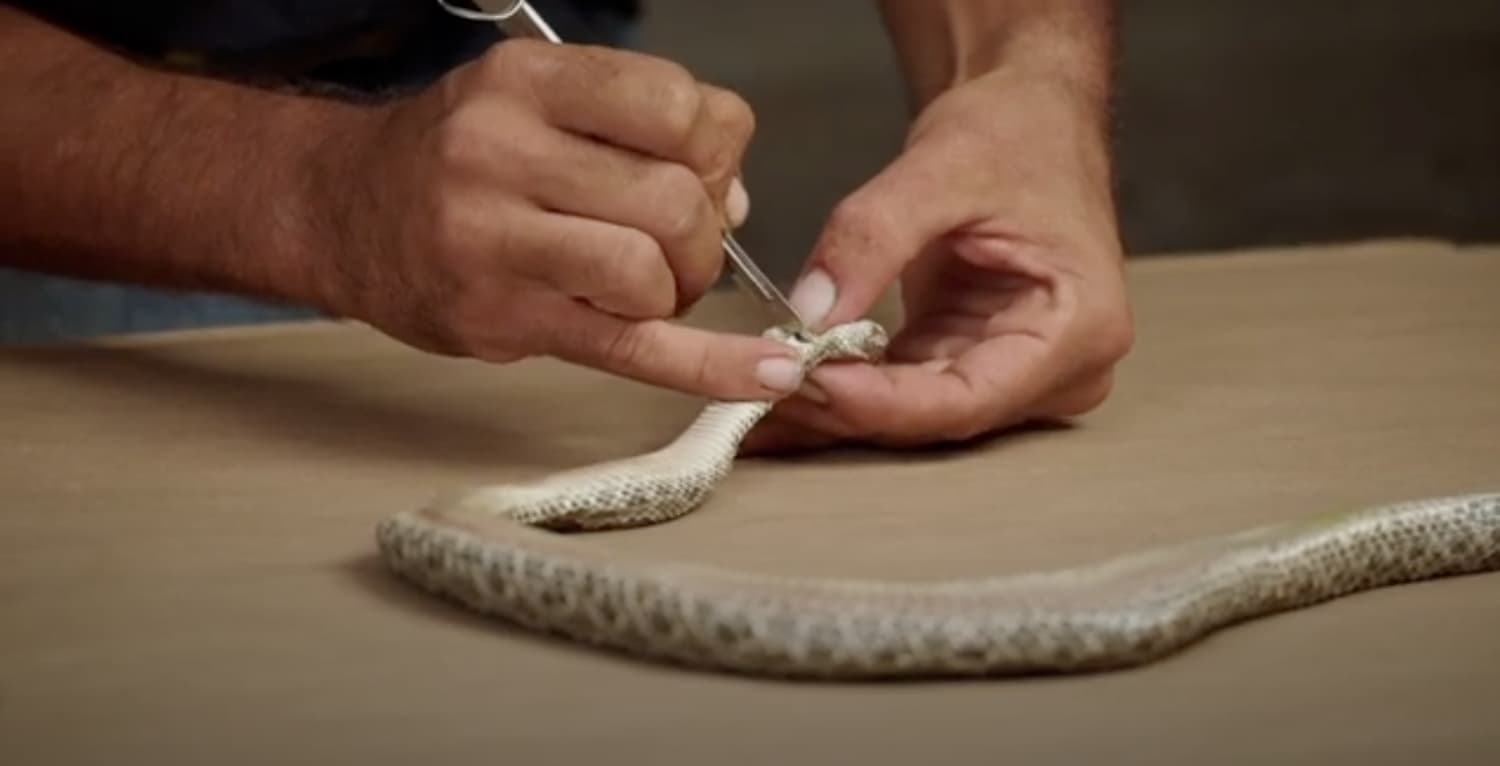
Continue the belly incision from the throat down to meet the lower cut near the vent, always keeping the knife centered to ensure symmetrical belly scales.

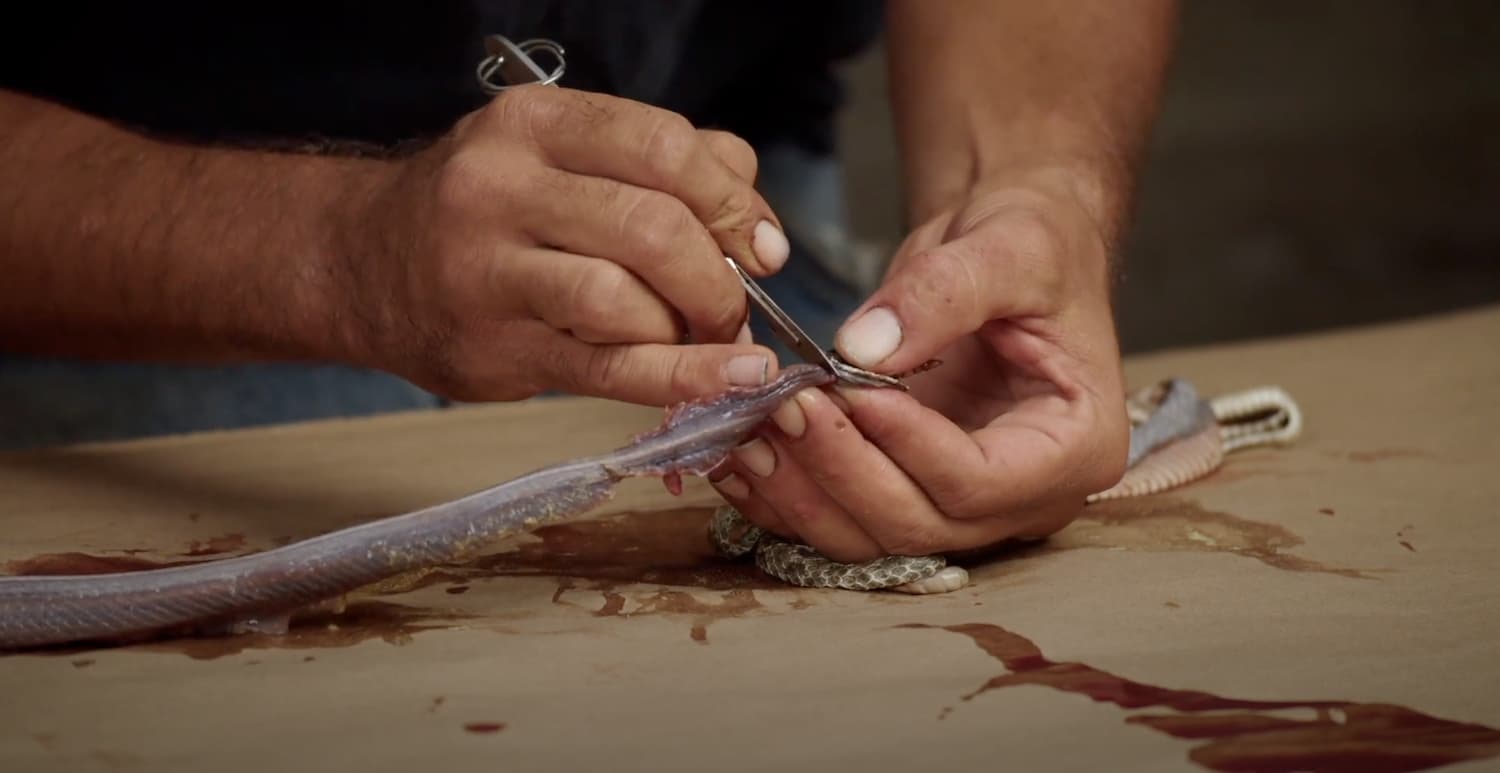
 Now, cut around the base of the head, and begin peeling the skin gently. Once you’ve loosened a portion of skin, grip it with your thumb and fingers. Hold the snake firmly and slowly pull the skin away from the body. If done carefully, it will separate cleanly.


Reposition your hands as you move down the length of the snake. When you reach the vent, stop and use your knife to detach any remaining tendons or muscle.


A strong musky odor may appear—this comes from the musk glands and is expected.

Continue peeling until you reach the base of the rattle. If you choose to keep the rattle attached, use your knife to sever the surrounding shaker muscles—not the bone. Once those are cut, a gentle twist will detach the rattle with the skin still connected.
Optional: Preparing the Meat
Rattlesnake meat is edible and often grilled. If you wish to keep the meat, remove the intestines by pulling them out in one motion starting at the throat. Once complete, remove the head. This step must be done with care—venomous snakes can still deliver venom from their fangs.
What’s Next
Now that you’ve skinned the snake, you’re ready to move on to Part 2: Fleshing, where you’ll remove any remaining tissue from the inside of the snakeskin before proceeding with the tanning process.
Summary Points:
-
The Tan-a-Snake kit tans up to a 12-foot snake, or multiple smaller snakeskins.
-
Produces true tanned leather—not a glycerin preservation.
-
Begin with a full-body stretch to eliminate rigor.
-
Keep belly incisions centered for clean, symmetrical skins.
-
Gently peel the skin; use knife only as needed.
-
Handle the vent and rattle areas with care to preserve structure.
-
If eating rattlesnake meat, prepare and clean it properly.
-
Always dispose of the head safely due to remaining venom.


