This article is a continuation through the process, step-by-step, of how to flat tan a squirrel hide using the Advanced Tanning Solutions Tan-a-Fur Skin Kit. We are demonstrating on squirrels, but the process is similar for other fur skins. To get to this point, you should have already completed steps 1-3 in Part 1: Fleshing, Salting, & Rehydrating.
The Tan-a-Fur Skin Kit includes everything you need to tan a life-size mountain lion, a medium bear, or several small animals. It’s a perfect kit for beginner home tanners and DIY taxidermists. You’ll get a professional-quality result with a simple, all-in-one experience. Dale's Pickle Tan is new, unique formulation of a pickle and tan in one bath.
The kit includes:
- Fleshing/Shaving Tool
- Degreaser
- Pickle Tan
- Fur Oil
- Softening Stone
- Silk Powder
- Dust Mask
- Non-Latex Disposable Gloves (2)
You will need table salt, bleach, baking soda, a plastic bucket, and hot water.
Step 4: Pickling
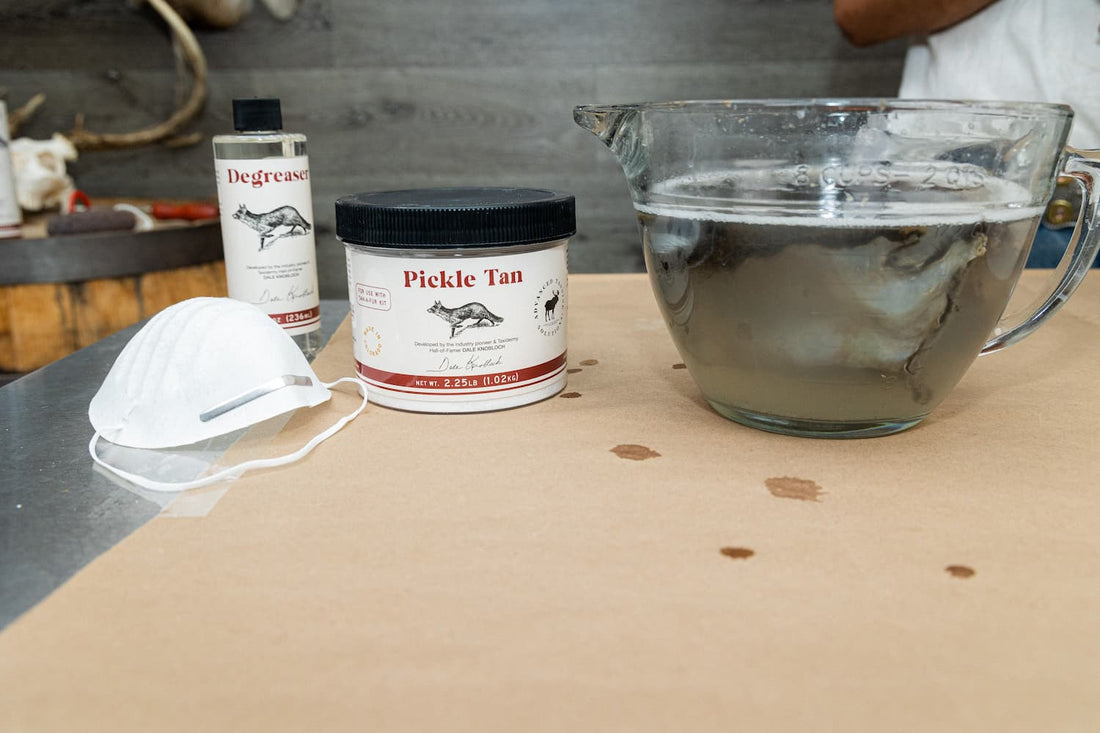
Dissolve ½ cup of Pickle Tan, 3/4 cup of salt, and 1 teaspoon of Degreaser PER gallon of hot water. Mix enough solution to completely cover your skin(s) and allow them to move freely.
Be sure to also wear the dust mask that is included in your kit when you’re working with the Pickle Tan powder.
The rule in the industry is to treat every fur bearer as if it’s the greasiest. Squirrels aren’t too greasy, but beavers and raccoons are. For that reason, we always use Degreaser with each step of this process. It ensures that your skins always come out clean and fluffy in the end.
When your squirrel skins have drained for 10-15 minutes from the rehydration bath, very gently put them into your pickle bath. Make sure the skin is fully submerged in the bath. Let it soak overnight, for at least 12 hours. Thicker fur skins will need a 24-hour soak.

After 12-24 hours of pickling
When your skin has been soaking in the pickling bath for 12 to 24 hours, it’s time to remove it from the pickle and hang it to drain. Save your Pickle Tan bath! Do not dump the pickle bath after you remove your skin as it will be used for the tan bath.
Wearing the gloves that came in your kit, gently remove your squirrel skin from the bath and squeeze any excess pickle from it. Then, drape it over your bucket to drain.


When the skin is done drip drying, you’ll be ready for the next step, shaving. The shaving process thins the skin down to accept the tan and create a softer skin. Let the squirrels drip dry, fur side up for about 30 minutes. You’ll notice the fur start to dry out and get fluffy again. Then, flip them over and let the flesh side dry til damp.
Step 5: Shaving
For this step, you may use your fleshing tool again or your softening stone. Play around with each of them and see which one works better on your skin. Smaller fur skins like this squirrel can be easily thinned and shaved with the softening stone.

Use the stone to scrape away at the skin and remove any remaining fleshy bits that were missed with the fleshing process. Remember to be gentle and don’t be afraid to peel away at it with your fingers once you get it loosened with the stone.

Shaving is an important step as mentioned above, shaving thins the skin to help the tan penetrate better. It also provides more stretch and softness and reduces shrinkage. Be patient and go slowly, always rubbing the stone in one direction down the entire length of the skin, with the grain of the furn, from the head to the tail. Don’t try to rub back and forth, side to side. You could possibly tear holes in your skin.
Stretching out your edges and stretching your skin as you work will help make the shaving process easier.
When you get to the head and face, you can wrap it over a finger on one hand to make it easier to get at it with the stone with your other hand. This area is very delicate on squirrels, so be careful not to thin it too much.

Just continue shaving and peeling until the entire skin is a uniform thickness and any bits of flesh have been removed. You’re now ready to move on to step 6, Tanning.

If you’re working on greasier fur skins, like beaver, racoon, or bear, refer to the extra Degreasing step that comes in our Tan-a-Fur directions.
To continue, see the next guide in our series How to Tan a Squirrel Part 3: Tanning and Oiling.
