
Step-by-step squirrel hide prep using the Advanced Tanning Solutions Tan-a-Fur Skin Kit, from clean fleshing and proper salting to safe rehydration.
If you recently harvested a squirrel or have a skin in the freezer and want to tan it at home, you’re in the right place. This step-by-step guide will walk you through the first part of the process: fleshing, salting, and rehydrating the hide using our Tan-a-Fur Skin kit. We're demonstrating on a squirrel, but the same process applies to most small game skins—fox, raccoon, rabbit, beaver, possum, even smaller predators.
The Tan-a-Fur Skin Kit comes with everything you need to get started:
-
Degreaser
-
Softening Stone
-
Grooming Brush
-
Silk Powder
-
Dust Mask
-
Non-Latex Gloves
You’ll just need to add a few basics: table salt, bleach, baking soda, hot water, and a clean plastic bucket.
Step 1: Fleshing the Squirrel
Once skinned, your hide will likely have some leftover membrane, tissue, and fat still attached. Using the fleshing tool included in the kit, start at the head and work toward the tail, gently scraping with the grain of the fur. Fingers help pull off any loose bits, and the softening stone also helps with smaller skins like this squirrel.
Be sure to remove the musk glands near the tail. They’re small, greasy sacs that don’t tan well and can leave the skin oily if left behind.
How do you know when it’s fully fleshed? Look for a blueish tint on the hide. That’s your signal that the skin is clean and ready. Any white or dark patches still need to be gently scraped.


Once you’ve removed all the flesh, the musk glands, and all the membrane from your hide and you’re happy with it, you’re ready to move on to the next step — salting.
Step 2: Salting the Skin

Salting pulls out moisture and protein from the skin and helps lock in the fur. You’ll want to be generous here.

Start by salting the open face and lips, then fold them in. Apply a heavy layer of fine salt over the entire flesh side. Don’t forget the tail—open it all the way and pack it with salt. Once filled, fold the tail back over the body and salt it again.

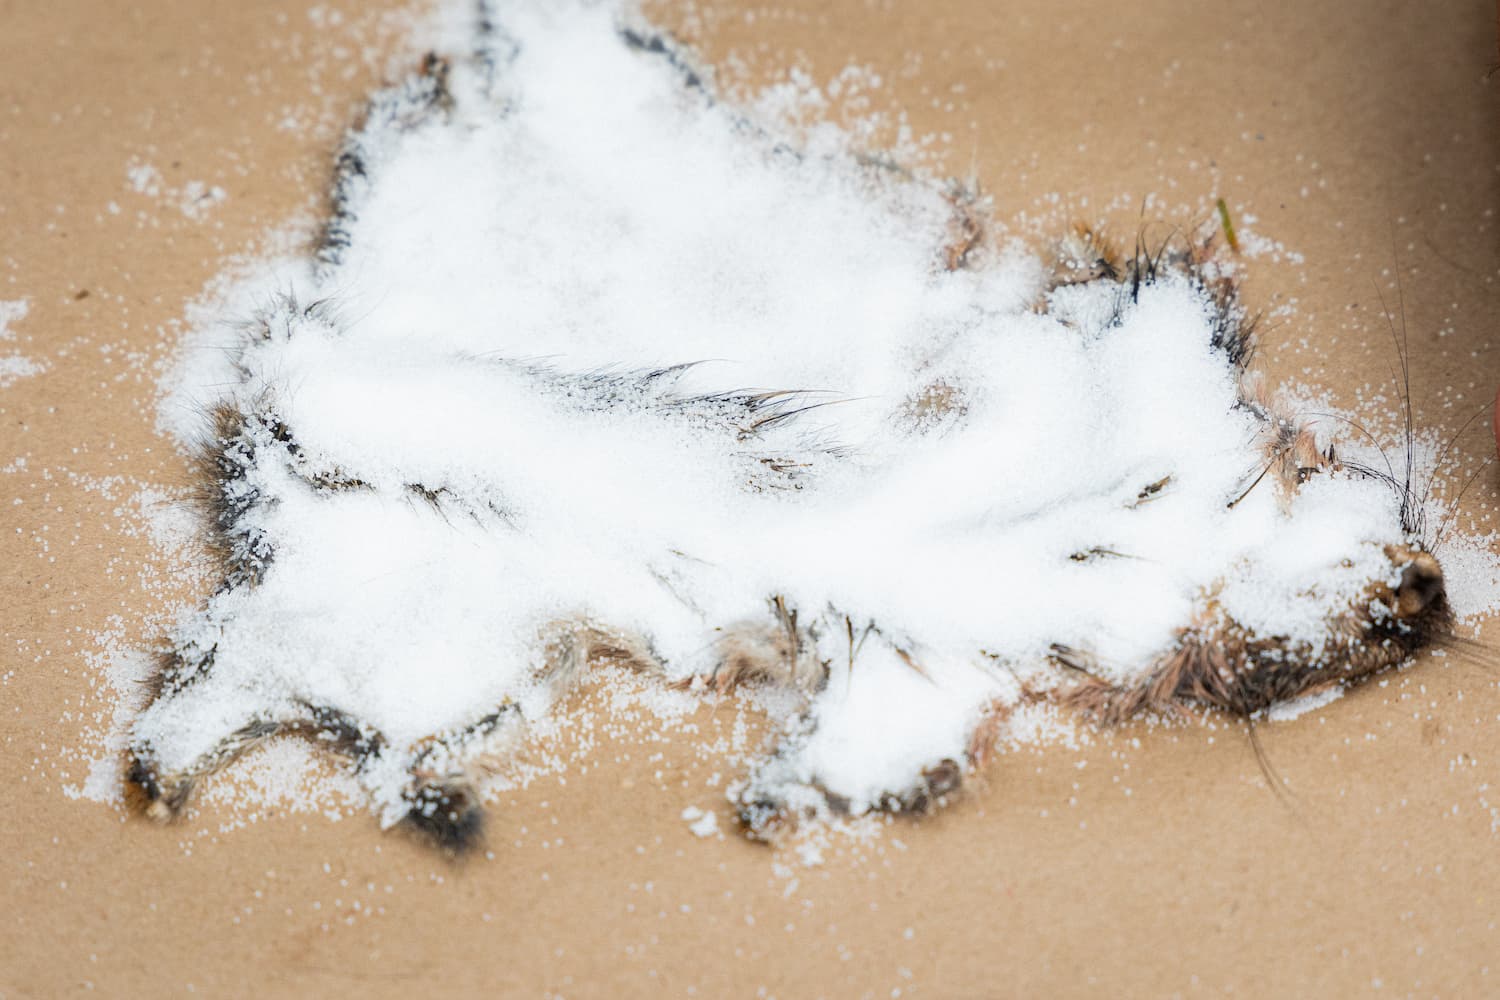
Let the salted skin sit out and dry for about 12 hours (or 24 for larger skins). The next day, shake off the salt. If it still feels damp, reapply a fresh layer and let it dry overnight again.

Step 3: Rehydrating

When your skin is dry, you’re ready to move on to the next step, rehydrating your squirrel skin.
When the skin is dry and stiff, it’s time to bring it back to life. To do that, mix a rehydration bath using the following measurements per 1 gallon of warm water (let it cool to room temperature before use):
-
¼ cup of table salt
-
1 teaspoon of Advanced Tanning Solutions Degreaser (included in the kit)
-
½ teaspoon of bleach
Once mixed and cooled, gently brush off any remaining salt from the skin—don’t yank or pull clumps, just pinch or crush them off. That includes salt in the tail and facial areas.
Dip the skin into the bath like you’re dunking a cookie. Once it starts to bend and soften, let it soak fully. You’ll likely see layers of grime and old fluids settle at the bottom of the bath—that’s the degreaser doing its job.

Once the skin feels soft and flexible, give it a light squeeze to remove excess liquid. Hang it fur-side out over a bucket to drip dry.

In about 15 minutes, your squirrel skin will be ready for pickling.
To continue, see the next guide in our series How to Tan a Squirrel Part 2: Pickling and Shaving.
Main Takeways
-
Always flesh with the grain of the fur—head to tail.
-
Look for a blue tint to confirm the skin is clean.
-
Don’t skip the musk glands—they’ll cause problems later.
-
Salt every inch of the flesh side, especially folds and the tail.
-
Rehydration mix:1/4 cup salt + 1 tsp degreaser + ½ tsp bleach per gallon warm water.
-
Let the water cool to room temp before soaking the hide.
-
Soak until the hide is soft and bendable—no shortcuts.
-
Hang fur-side out to drain before pickling.


