
Turn a fresh rattlesnake skin into clean, bright, true-tanned leather—starting with a proper flesh that won’t ruin the final finish
This is Part 2 of our how-to guide for tanning a snakeskin using the Advanced Tanning Solutions Tan-a-Snake Kit. We're using a rattlesnake here, but the instructions apply to any species of snake. If you haven’t completed Part 1: Skinning, make sure to do that first.

The Tan-a-Snake Kit comes with Snake Tan, Snake Oil, a Snakeskin Fleshing Tool, and non-latex gloves. You’ll also need salt, a sharp knife (we recommend a Havel’s #4 handle with #23 blades), and your skinned snake.
Step 2: Fleshing the Snakeskin
Fleshing removes residual tissue and membrane so the tan can fully penetrate. Start by laying the snakeskin flat on your table, scale side down. It’s normal for the belly scales to fold inward—just unroll the skin gently and flatten it as much as possible.

Use the fleshing tool from your kit. It has a flat side with one large rounded corner and one smaller rounded corner. Pull the belly scales aside and begin gently scraping away any leftover membrane or meat. Always work with the grain of the scales, never against it.

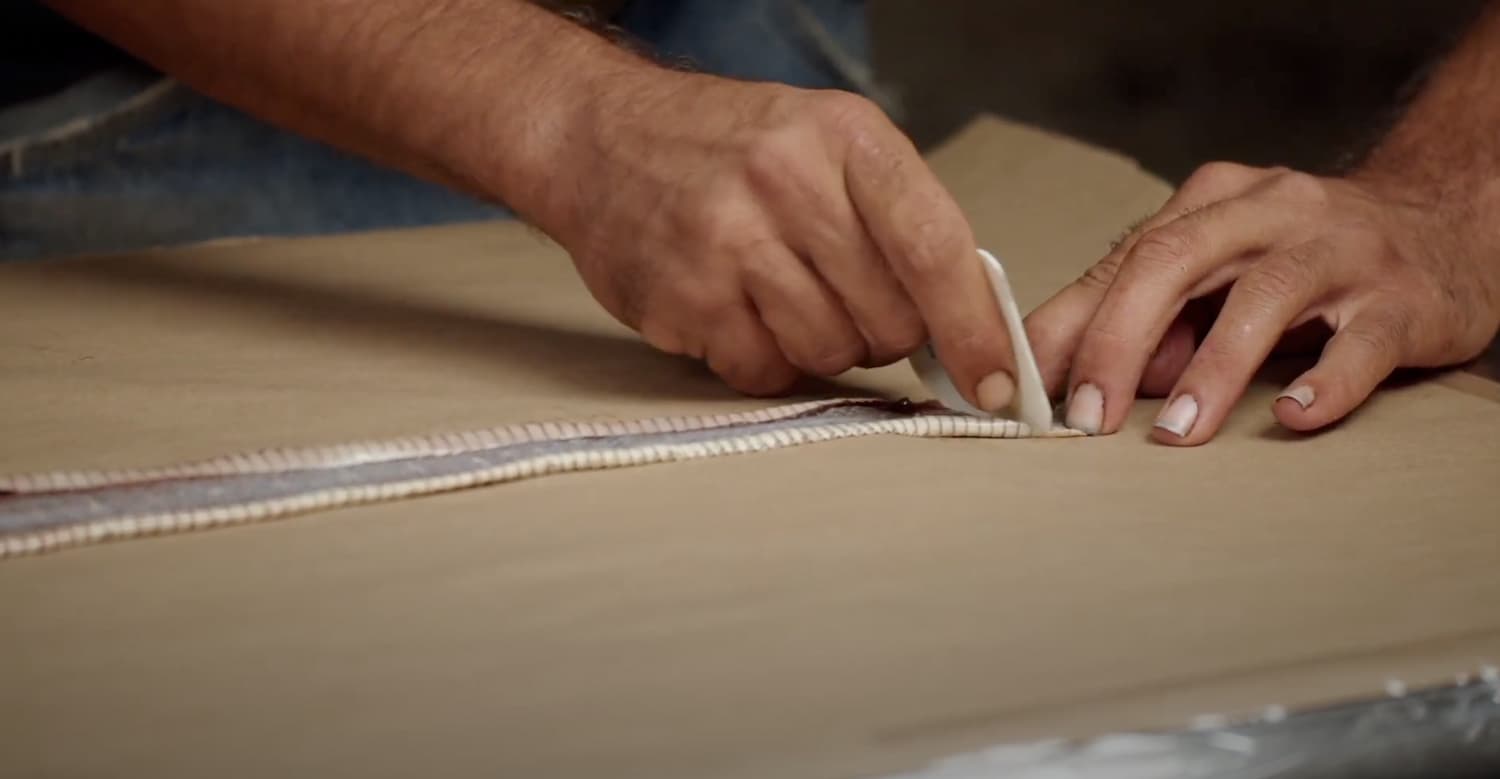
Hold the scraper at a 45-degree angle and use short strokes, working head to tail. Don’t rush this part—slow, deliberate movements will protect the integrity of the skin.

If you prefer, try the “halving” method: scrape half of the skin first, then go back and do the other half. The goal is to remove all flesh. A fully fleshed skin allows the tanning solution to soak in evenly and creates a softer, cleaner final result.
For tricky spots, especially thicker flesh near the vent or tail, use your fingers to pick at stubborn areas. When you reach the vent area, switch to the smaller rounded corner of the fleshing tool for better control. If the rattle is still attached, work carefully to avoid breaking it.

Once you've gone over the entire skin with the fleshing tool, go back again using the small corner of the scraper to catch any tissue you may have missed. Then, use your knife to cut and push off any remaining meat near the vent. As part of this, you’ll also pop the first scale on either side of the vent.

Finish the step by making one final pass with the fleshing tool. If you’ve done it right, the skin—especially the belly area—should now lay mostly flat. Some curling may remain around the vent and rattle area, but the rest should be relaxed and clean.
Once you’ve finished this process, you’re ready to move on to Part 3: Salt Bath, Rehydration, & Tanning.
Key takeaways
-
Part 2 focuses on fleshing; complete Part 1: Skinning first.
-
The same steps apply to any snake species.
-
Use the kit plus salt and a sharp knife
-
Fleshing removes membrane and tissue so the tan penetrates evenly.
-
Lay the skin scale-side down and gently flatten the belly area before scraping.
-
Scrape with the grain at a 45-degree angle using short strokes from head to tail.
-
Use the tool’s small corner and your fingers for thick areas near the vent and tail.
-
Make multiple cleanup passes, then move on to Part 3: Salt Bath, Rehydration, & Tanning.


